If you’re lucky enough to have a Kindle or a Kindle 2, there is no need to go spending good money to put your own content on there.
If you have PDFs, HTML docs, word processor documents that you’d like to carry around on your Kindle, you can either pay 10c a doc to have Amazon convert and email them to your Kindle OR you can use this handy, free method.
[UPDATE 1/3/12 – Amazon has announced the latest Kindle format will move away from the Mobi format. Find out more at the Amazon Digital Publishing site]
STEP 1
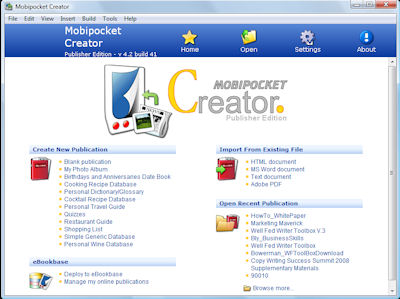
Download the free Mobipocket eBook Creator software. Install it and fire it up. (Update 1: Txvoodoo, in the comments, suggests downloading the Publisher version rather than the Home Version. That’s the one I used. It gives you more options, and of course a little more complexity, but it’s still simple to use. Update 2: Just discovered calibre for ebook conversion and library management. I like it. Read my thoughts on Calibre).
STEP 2
Select the file type of your original document (Word, PDF etc.) from the top right group [“Import File Type”].
Browse to the file on your computer, then click on ‘Import’,
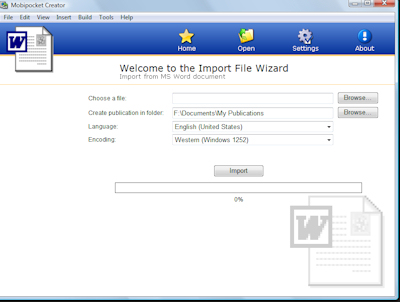
Mobipocket imports the file but you’re not quite done yet.
STEP3
After importing, you should arrive at a screen like this:
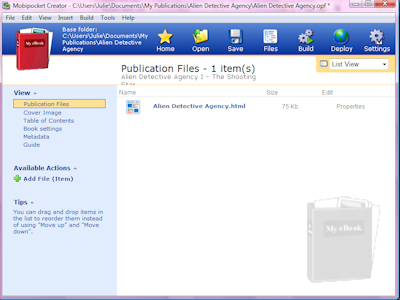
Your publication’s title appears in the main pane. In the left sidebar are links to things you can change about the ebook: you can add a cover image, table of contents, and metadata (that is, information that is not printed in the book, but will show up in libraries and on readers, such as publisher, author, publication date, etc). You should modify as much or as little as this as you need. If yours is a document for your own use, and this is your first time through, just make sure it has the right title and author in the ‘metadata’ settings and move on.
STEP 4
On the same screen as Step 3, click on “Build” in the top tool bar. The program will give you this screen:
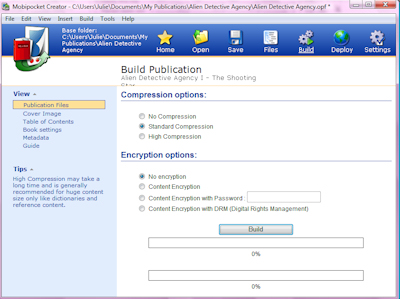
You can choose more or less compression and you can choose to encrypt or password protect your book if you want. First timers/Personal users: just use the default settings and click “build”.
STEP 5
All going well, you should end up at a screen like this.
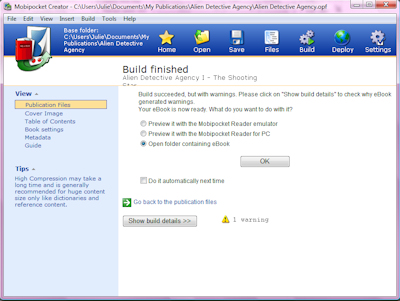
Make sure “Open folder containing eBook” is selected and click “OK”.
In that folder you’ll find various versions of the file. The one you need for the Kindle is the one with the PRC extension.
Make note of where this folder is (so you can find it again), plug in your Kindle and drag the PRC file from this folder over to the ‘documents’ folder on your Kindle.
NOTES
Pay attention to the formatting after you create your eBook, especially if you are creating documents from your own content that you intend to sell. Sometime formatting issues creep in, and you’ll need to check for odd line-breaks and page breaks etc.
